
Seed Starting 101
Despite Virginia’s long growing season, many gardeners like to get a head start by sowing fruit and vegetable seeds indoors several weeks before the date of last frost. Starting seeds indoors extends the growing season, which results in an earlier harvest and opportunity to grow multiple crops in a season. As an added benefit, starting seeds indoors allows gardeners to thin out weak seedlings and only transplant the strongest plants outdoors. Luckily, indoor seed starting doesn’t require expensive supplies or lots of space; even small space gardeners can get a jump on the growing season by sowing seeds indoors.
What you’ll need:
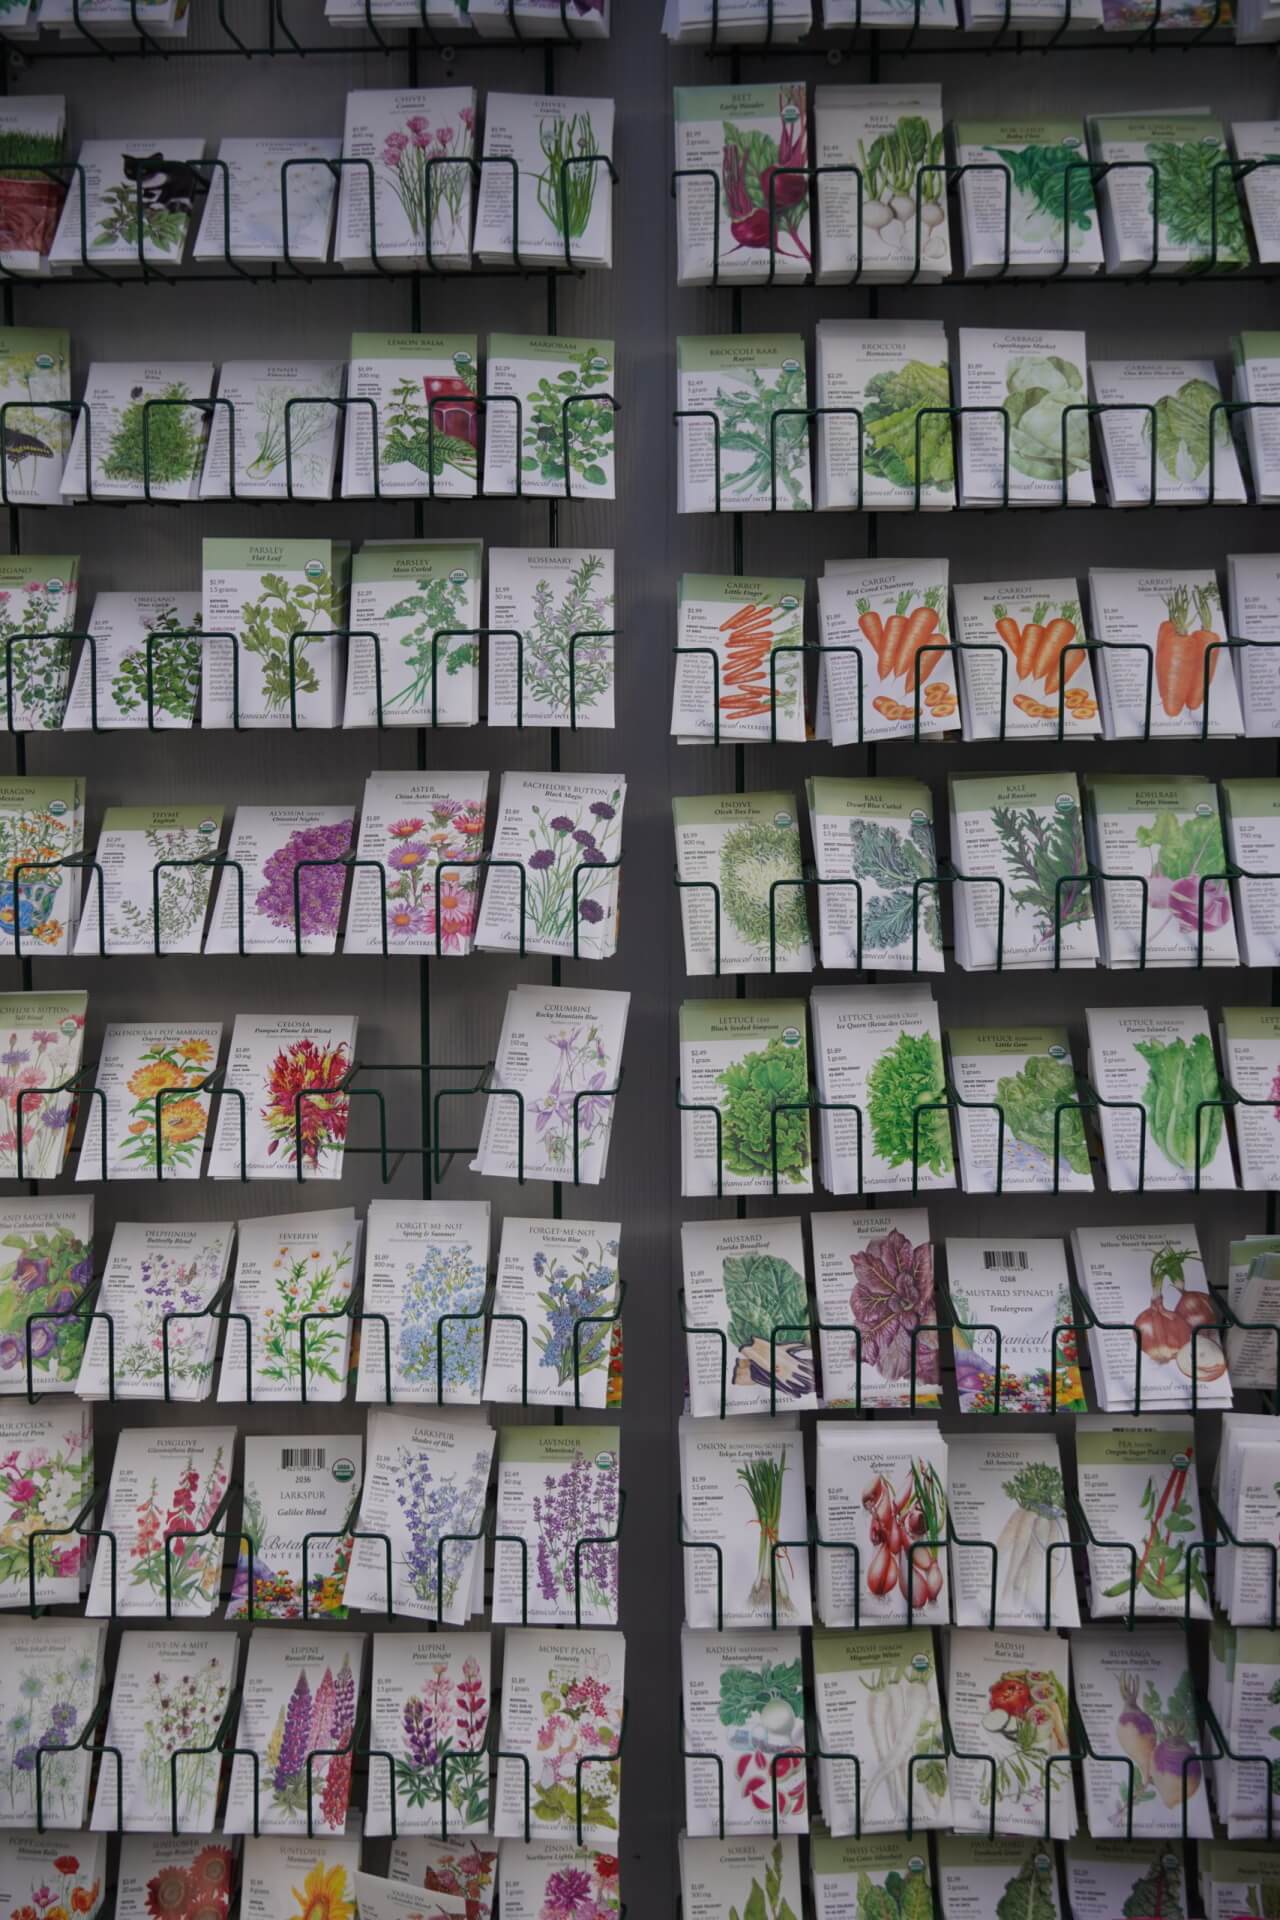
Seeds
Cross Creek carries a wide variety of seeds to grow annual flowers, fruits, vegetables, and herbs. Be sure to read the information on the seed packet, as some seeds are not recommended for indoor sowing.
Seed Starting Pots
You could use paper or plastic cups, recycled nursery pots, takeout containers, egg cartons, or purchase peat pots specifically for seed starting. Remember that young seedlings don’t need much room in their first weeks of growth; any container that can hold at least two inches of soil will work just fine. Seeds started in plastic containers will have to be removed during transplant, but peat containers can be transplanted directly into the soil.
Soil
Young seedlings are fragile. Excess nutrients and large chunks in the soil can stall or prevent germination. It’s best to use a soil mix specifically for seed starting, like Espoma Organic Seed Starter or Fox Farm Light Warrior.
Light
Grow lights provide the most consistent lighting for young seedlings, but a bright sunny window will work too. Keep in mind that seedlings will stretch to grow towards your light source, so rotate your growing pots for all sides of the plant to receive light. Elongated and ‘leggy’ seedlings are a sign that they need brighter light.
Warmth
In nature, rising temperatures trigger seed germination in the spring. You’ll have to replicate that process by keeping the soil at a proper temperature. Read your seed packets for information on necessary soil temperature; most seeds require temperatures between 70 and 80 degrees. Heat from artificial lighting will help raise soil temperatures, but you can also use a cloche or heat mat.
The time you start your seeds depends on what you’re trying to grow. Seeds recommended for indoor sowing have information on the seed packet about when to start. Consult the chart below to see when you should start your seeds and when your seedlings should be transplanted outside.

Plant 2-3 seeds in each starter pot and thin out the weakest seedlings after 1-2 weeks of growth. Water your seedlings enough to keep the soil evenly moist but not soggy.
Check the weather forecast about one week prior to transplanting your seedlings. If temperatures dip near freezing, it’s best to hold off on transplanting outdoors or be prepared to protect your seedlings with a frost cloth. In the week before transplanting, move your grow pots outside to a shaded area protected from harsh wind for several hours a day. This process called ‘hardening off’ allows the seedlings to slowly acclimate to outdoor conditions and offers a better chance of survival after transplant.
Once the seedlings are hardened off and the temperature is consistently above freezing, it’s time to transplant! Dig a small hole in the planting location as deep as your seedling’s starter pot and just slightly wider. Gently tip the starter pot upside down to remove the seedling or plant peat pots directly into the soil. A week or two after transplanting, apply a gentle fertilizer like Espoma Bio-Tone Starter to stimulate root growth.
Visit Cross Creek Nursery for seeds, seed starting supplies, and advice on how to start!